RoboJourney
Every Arduino simulator will happily light an LED whether or not your circuit could actually light one. This one runs the electricity as well as the code, so it fails the way the bench fails — before you have soldered anything.
the idea
Try it before you build it
in the browser
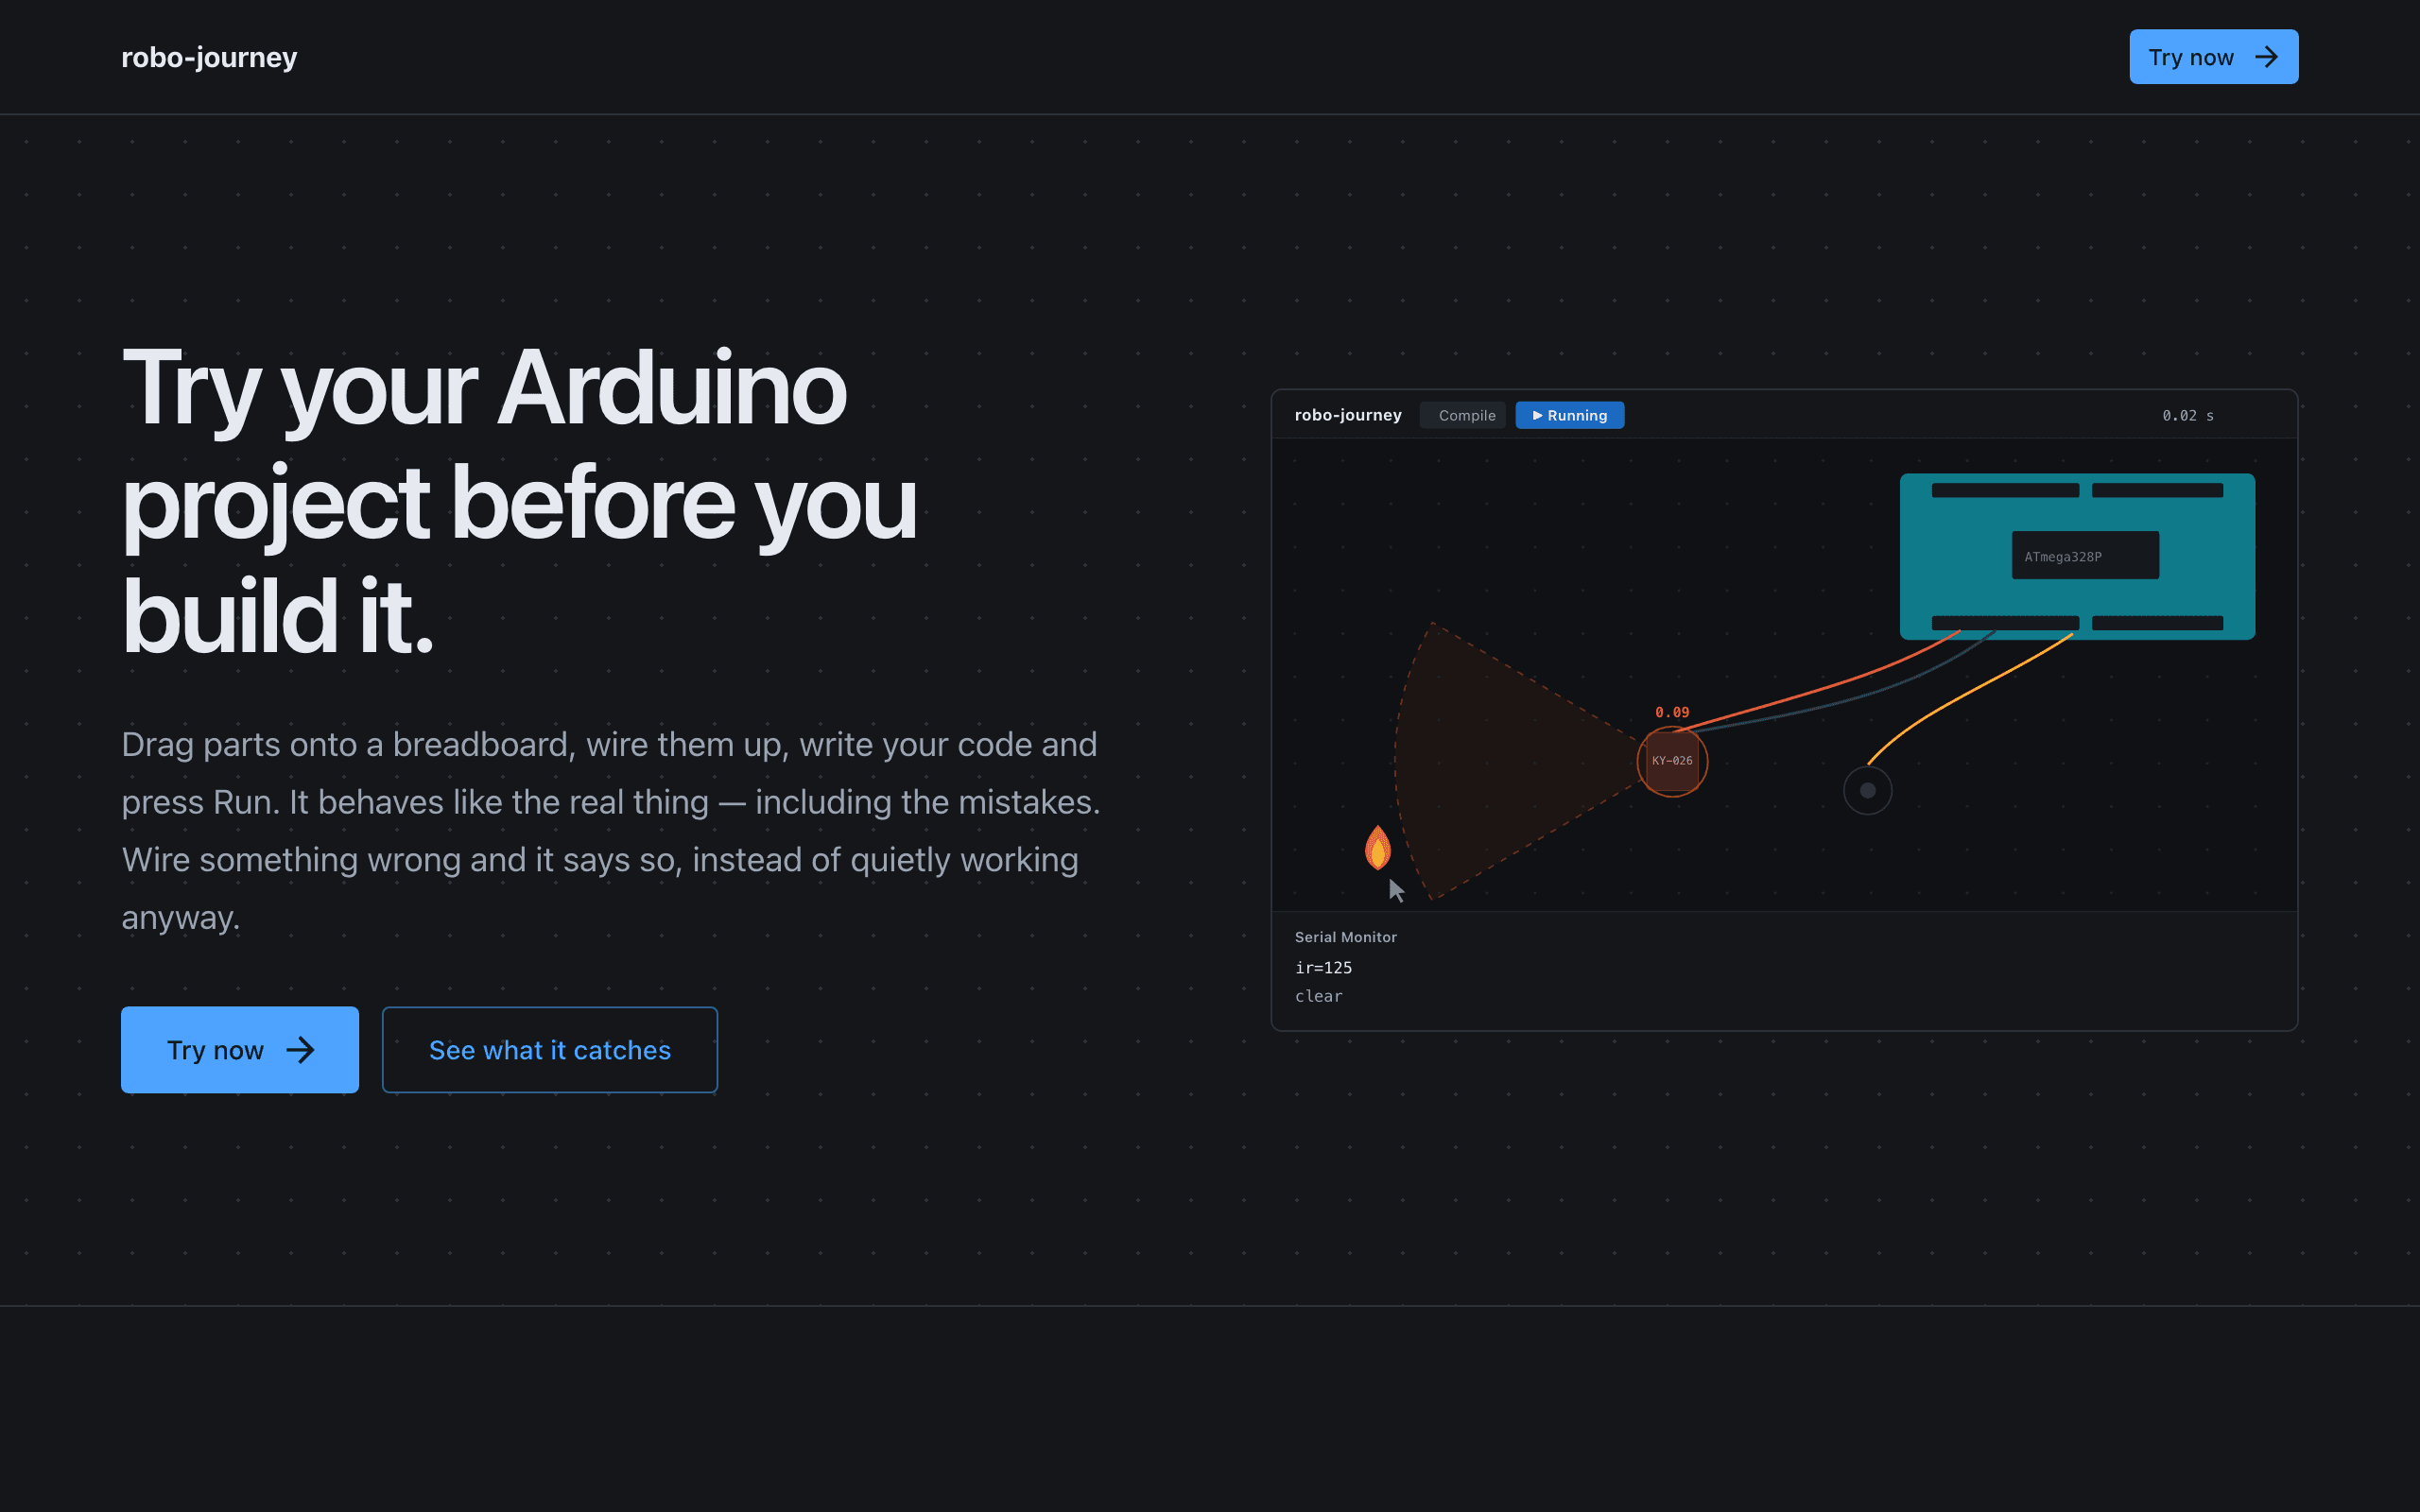
Drag parts onto a breadboard, wire them up, press Run.
Your sketch is compiled by the real arduino-cli and then executed as actual machine code on an emulated ATmega328P — not an approximation of one. So the timing is the chip’s timing, and something that only breaks after four seconds breaks here after four seconds too.
Why it exists
the gap
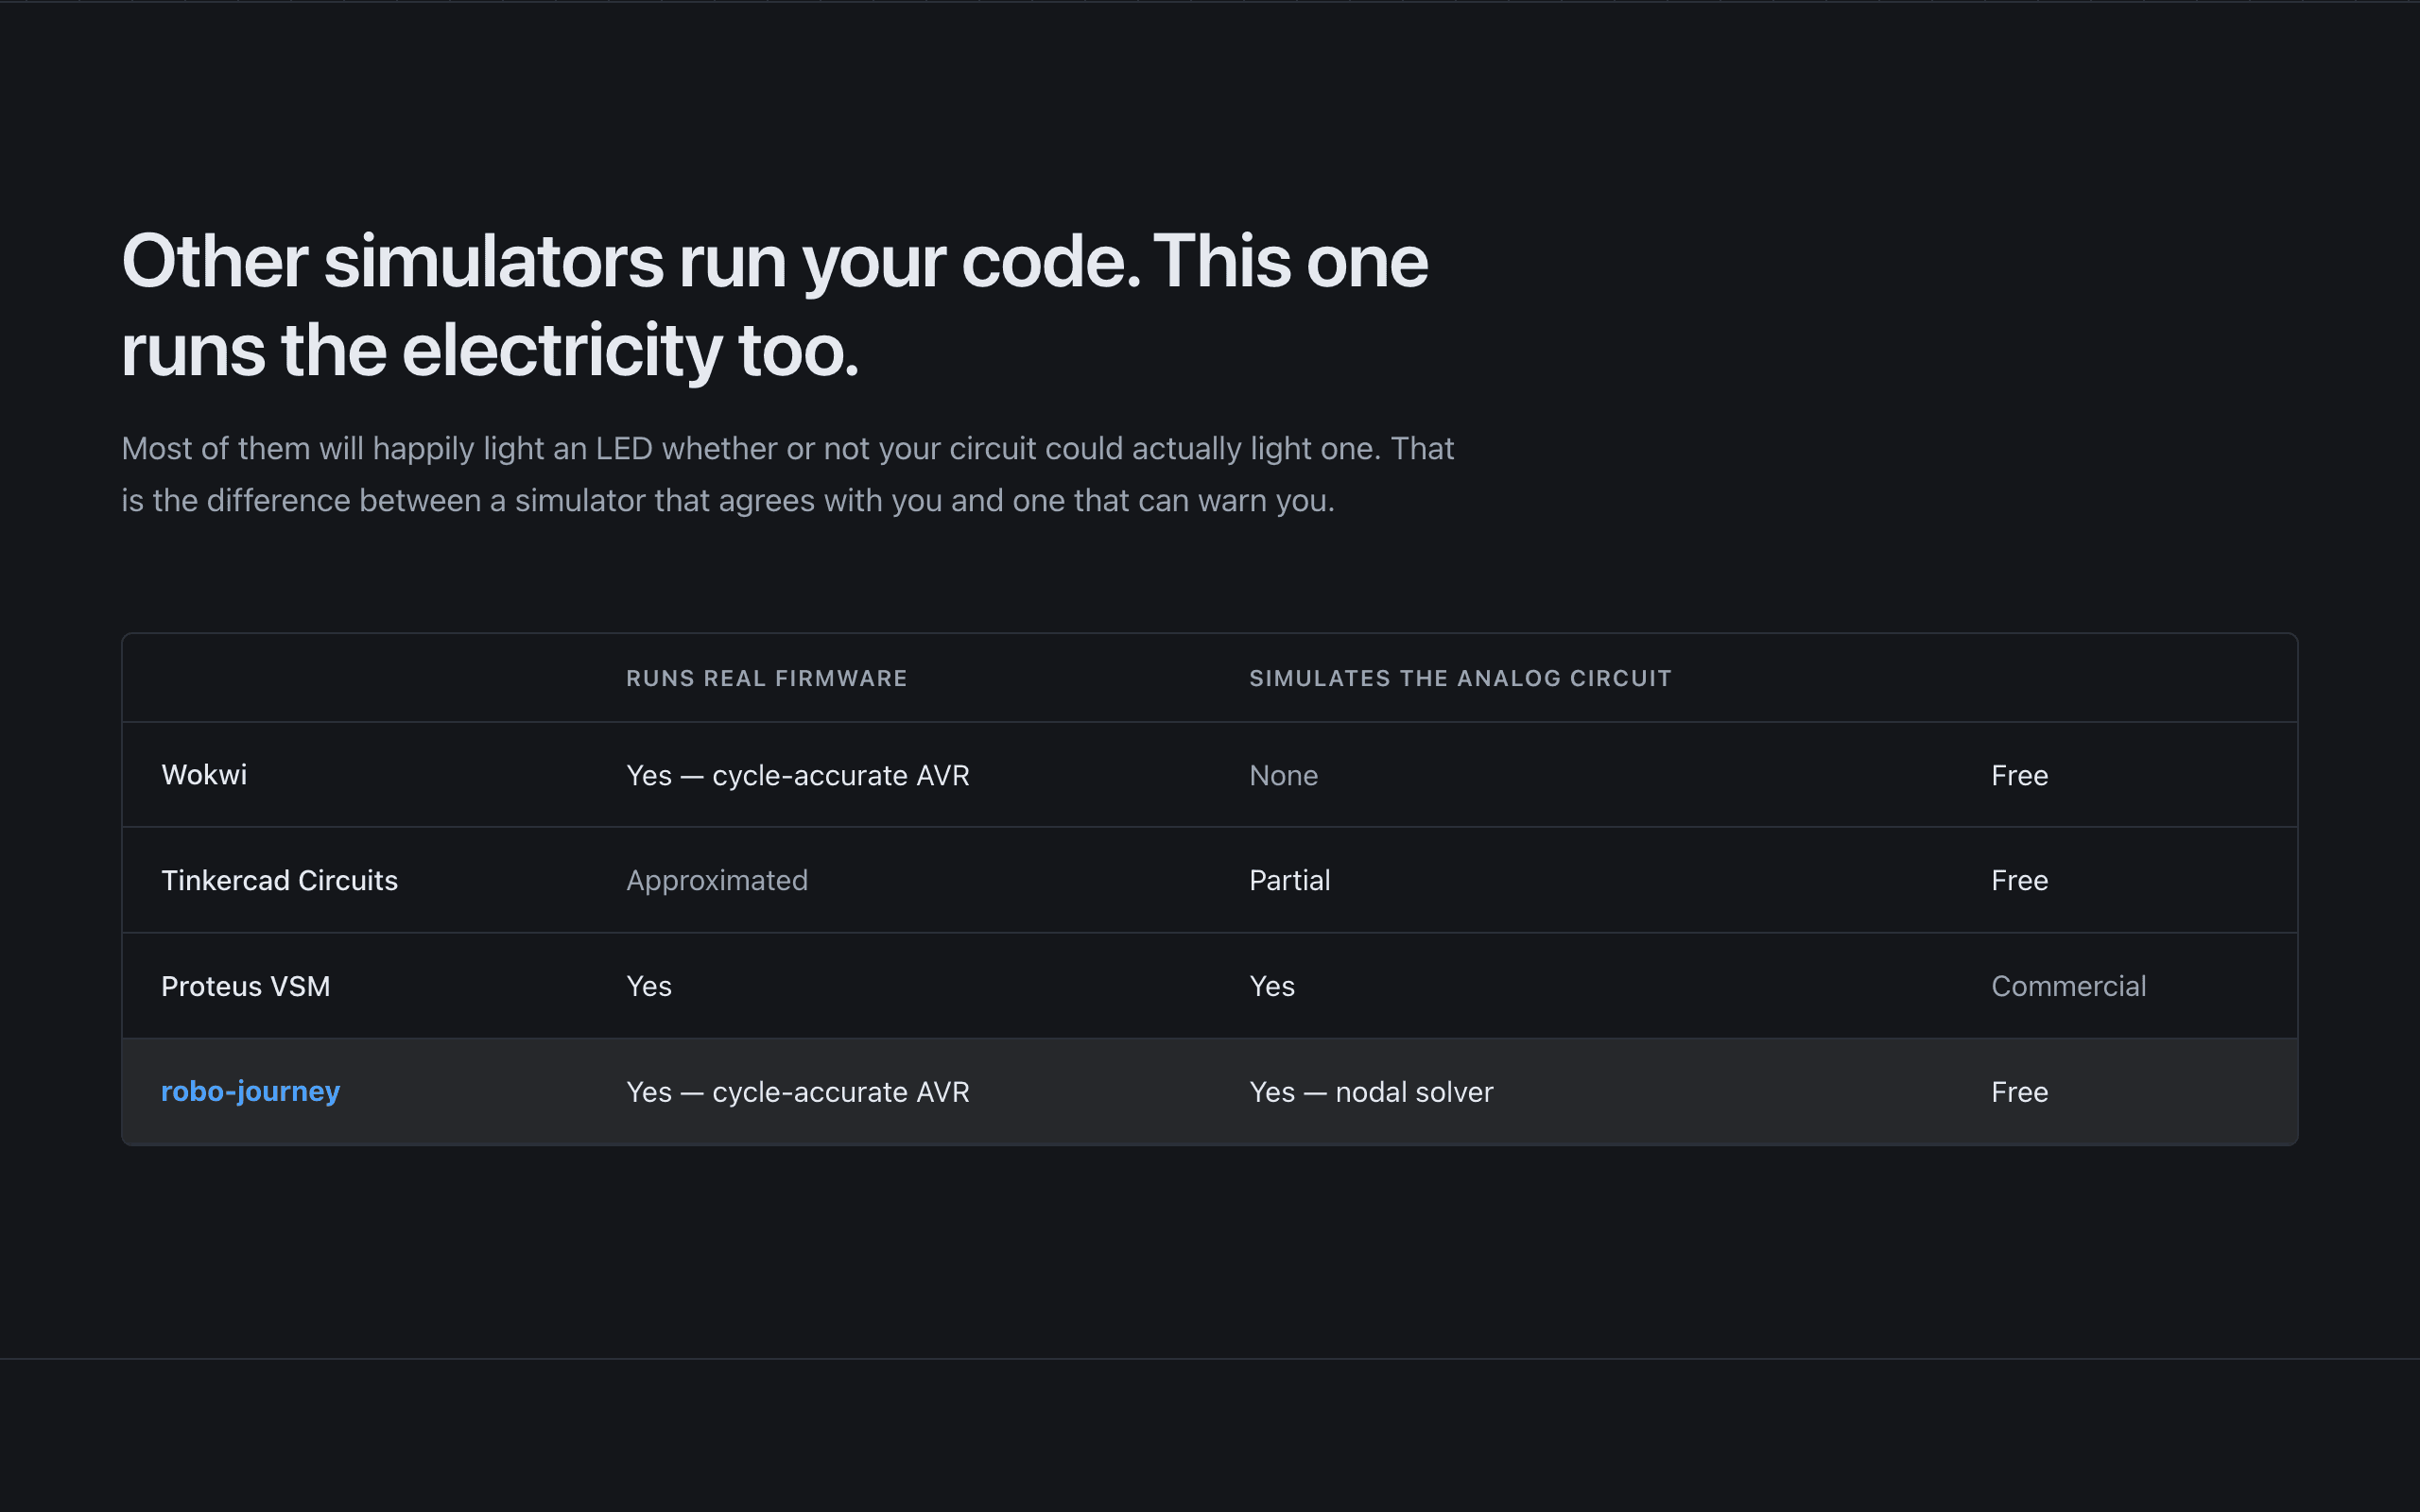
The existing tools each solve half the problem.
One runs the firmware properly but does not simulate the circuit at all. Another approximates the chip. The one that does both is commercial. That gap matters, because a missing resistor, a floating pin or a part browning out the regulator are electrical faults — a logic-level simulator runs that sketch happily and shows you a glowing LED, and the real board gives you a dead pin.
what you get
It tells you what went wrong
faults
The things a real board only reveals after you have built it.
An LED drawing 78 mA through a pin rated for 40. An analogue input left floating between the two logic thresholds, so what it reads is genuinely undefined. A regulator asked for more voltage than it has, with its output collapsed. Each one is named in plain language, with the numbers that make the case.

The rest of the bench
parts and instruments
Real parts, and something to measure them with.
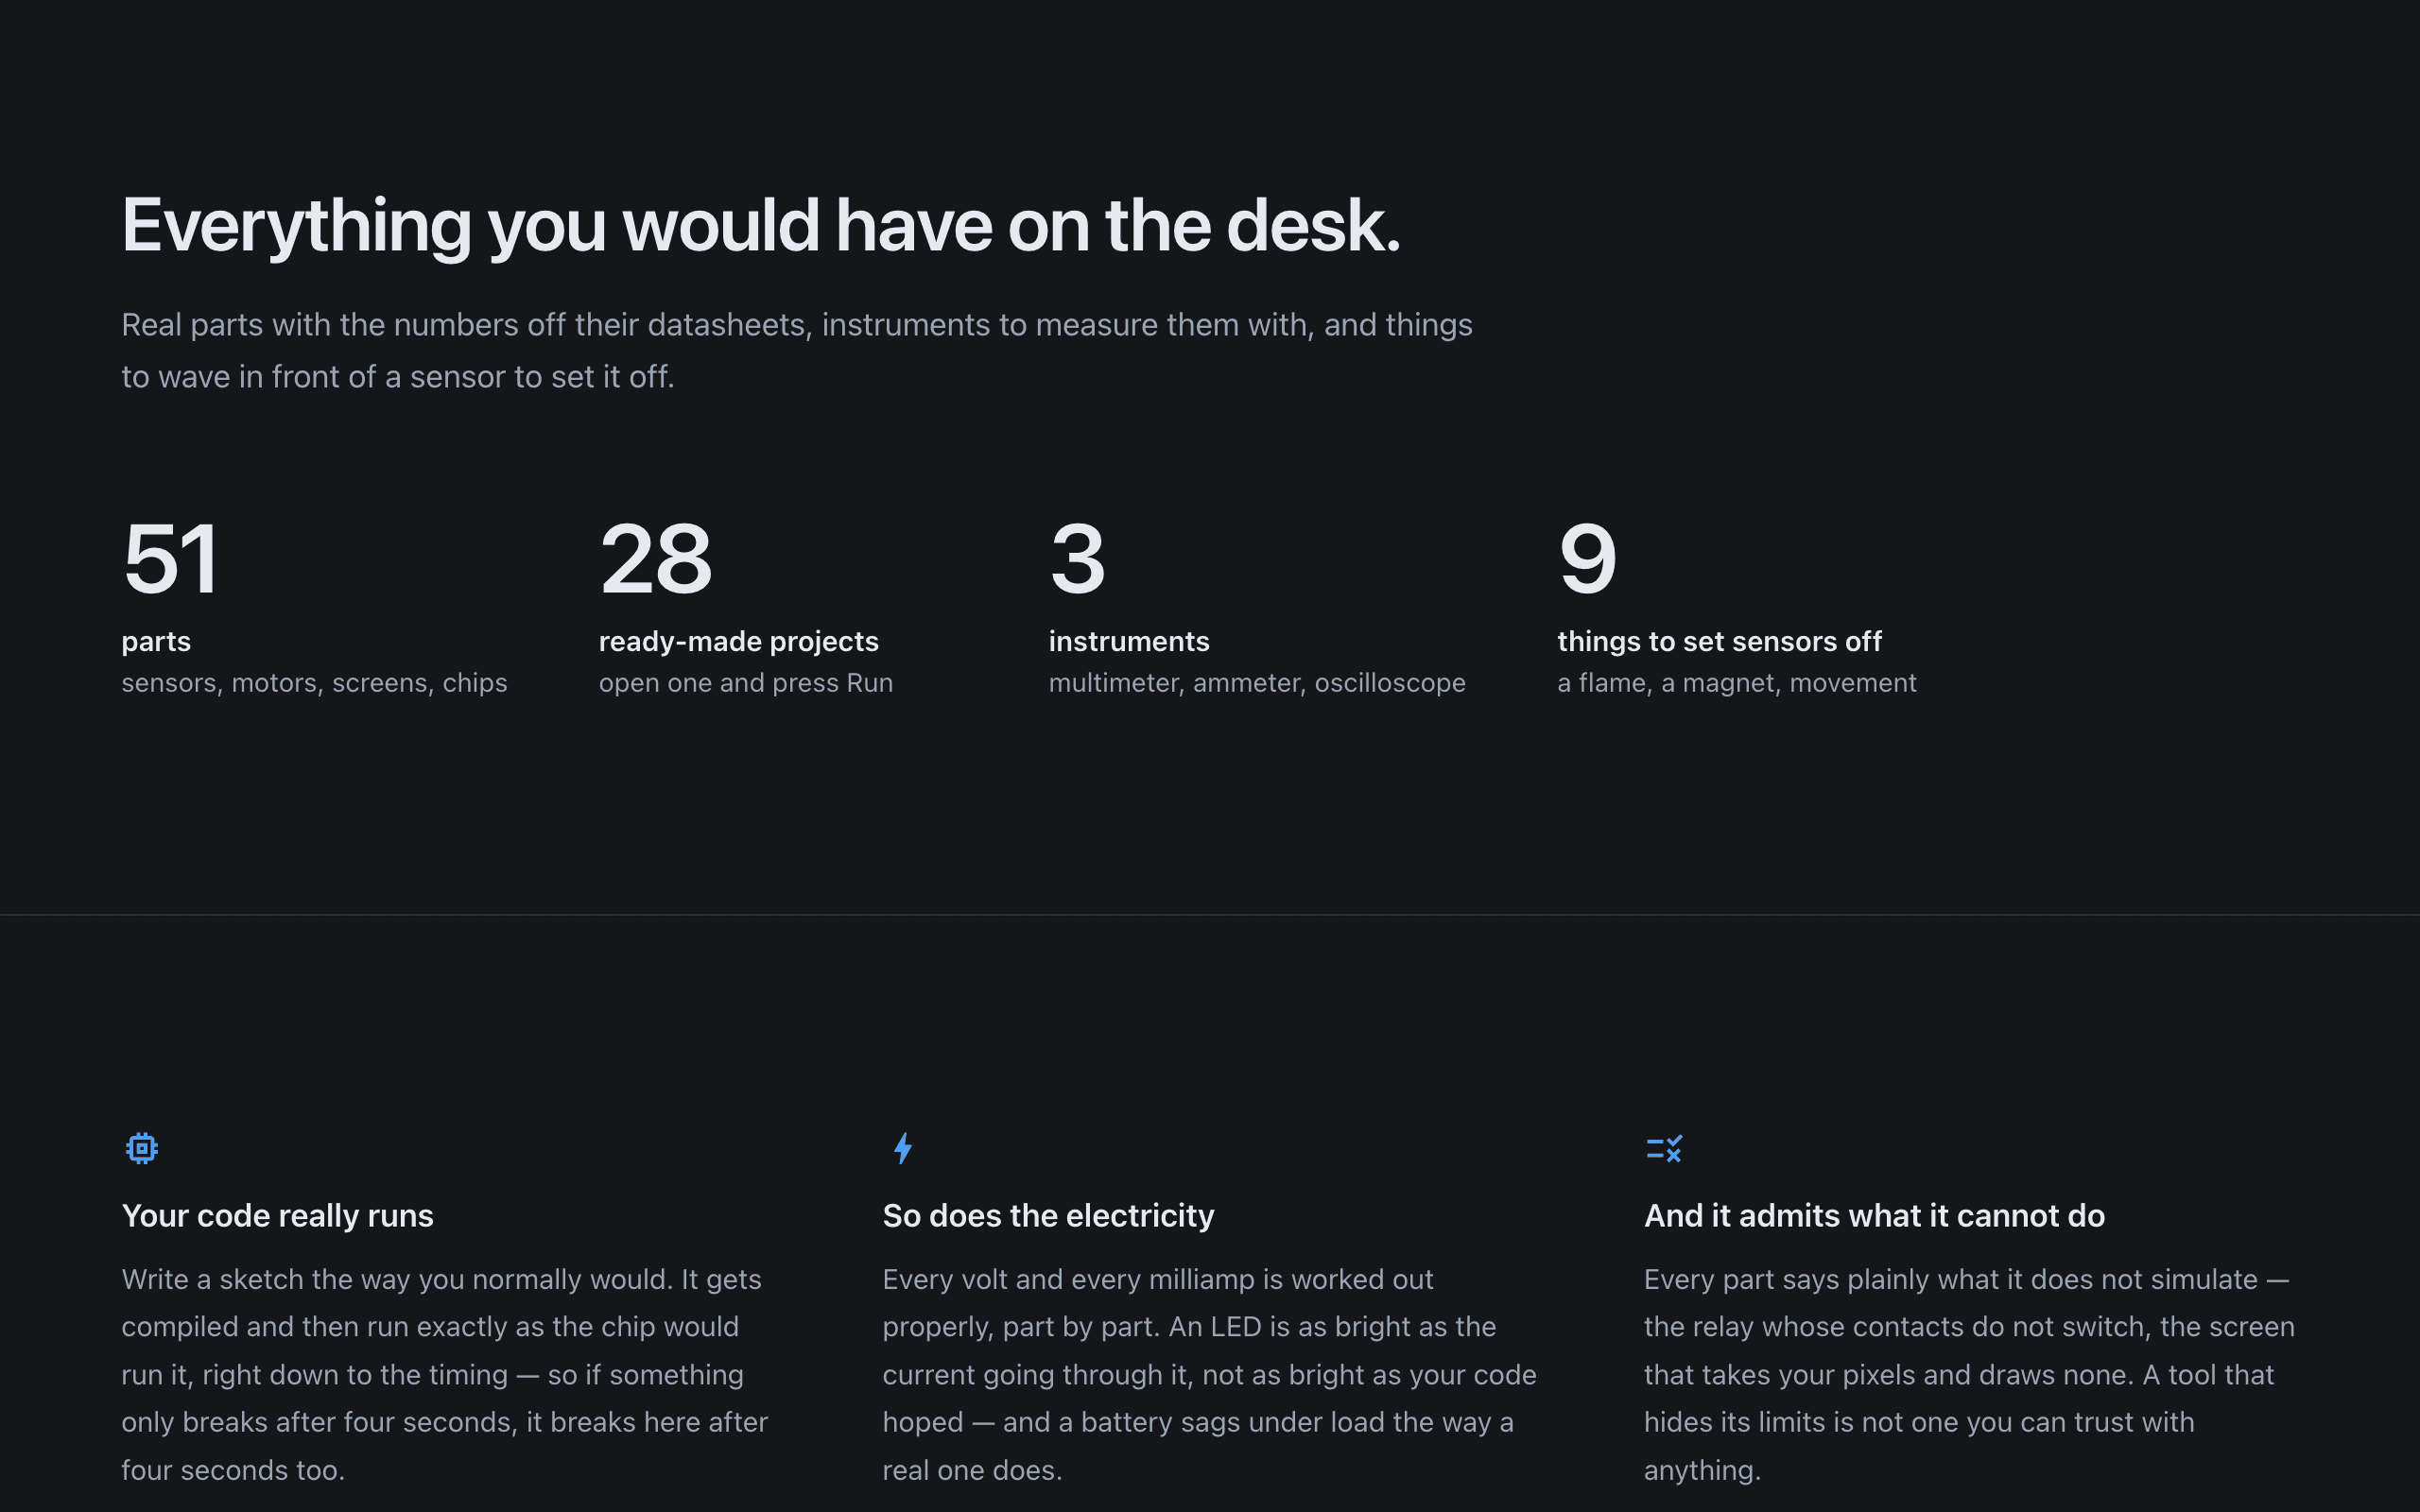
Fifty-one components carrying the numbers off their datasheets, twenty-eight ready-made projects to open and run, and a multimeter, ammeter and oscilloscope to point at them — plus a flame, a magnet and movement, because a sensor you cannot set off is not much of a test. Every part also states plainly what it does not simulate, which is the part most tools leave out.
underneath
Two simulations, kept in step
the engine
A processor and a circuit, solved together.
The chip is emulated instruction by instruction while a nodal solver works out every voltage and current in the circuit around it, and the two are advanced together on an event-driven loop so each one sees what the other just did. The engine never imports React and never touches the browser — which is what keeps it testable headlessly, and turns a desktop build into packaging rather than a rewrite.
Instruments that read the wire
measurement
Measuring it, not asking it.
A scope and a logic analyser plot the real traces, a register inspector shows the chip’s state by name, and there is a disassembler and breakpoints for when the sketch itself is the suspect. The serial decoder is the tell: it reads the bytes back off the voltage on the wire rather than from the peripheral that sent them, so it shows what a probe would have seen.
New parts from a datasheet
extending it
Components nobody compiled in.
Paste or upload a datasheet and it becomes a working part — pins, electrical behaviour, timing and limits — checked against physics before it is allowed anywhere near a circuit. Parts are data rather than code, so adding one does not mean touching the simulator.
Running it yourself
self-hosted
One command, on your own machine or a server.
Docker locally, or a single bootstrap command on a server that sets up a domain and a certificate that renews itself. The installer looks at what is already running before it changes anything, so it will not quietly take port 443 from a site already using it. 162 tests and 3 benchmarks run green.
Built in the open, and honest about its edges — every part declares what it cannot simulate, on the grounds that a tool hiding its limits is not one you can trust with anything.